How to Check In and Out
Steps to Check-in/Check-out of Activities and Recreation Areas
Follow the steps below or click here for the iSportsman User Guide
Step 1: Check-In
Click the “Check-In/Check-Out” button on the homepage of your iSportsman account. Select “Check-In” on the following welcome window.
- Check-In is used to check into an activity.
- Reservations can be made starting at noon the day before.
Step 2: Select an Activity
Select an “Activity” (i.e. turkey hunting, fishing, general recreation, etc.).
Note: You will only see the activities that you have a permit for.
Step 3: Acknowledgement
Read and accept the acknowledgements.
Step 4: Select an Area(s)
Select the Area(s) you wish to recreate in. Read and accept the acknowledgements.
Note: Only areas that are OPEN will be available for selection.
Step 5: Add Other Permit Holders to Check-In
Add any “Additional Participants or Guests” to the check-in for the same activity and area(s). Additional participants are required to have an appropriate permit for that activity. The site will prompt you to enter the participant’s permit # and Last Name initial.
Note: All participants will be required to check-out by logging in to their own iSportsman account. Guests will be checked out by the recreator who checked them in.
Step 6: Acknowledgement
Acknowledge the required check-out time.
Step 7: Confirm Check-In
Select “Confirm Check-In” after reviewing your selections. You are now checked-in for the activity and area(s) you selected. Log out of iSportsman when done checking in.
Step 8: Recreate Responsibly
Be certain to follow all Fort Cavazos rules and regulations, as well as applicable State and Federal laws while on Fort Cavazos.
Step 9: Check-Out
When you are finished for the day (or wish to move into a different area), you MUST Check-out.
Log back into your account and click the “Check-In/Check-Out” button on the homepage of your iSportsman account. Then select "Checkout". When finished checking out be sure to log out of iSportsman.
Note: All recreators, whether they checked themselves in or were checked in by someone else as a PARTICIPANT, are responsible for themselves and must login to their own account to check-out.
Step 10: Acknowledgement
Read and accept the Acknowledgement(s), if your activity has them.
Step 11: Feedback
Leave optional feedback and then select "Next".
Step 12: Confirm Check-Out
Select the "Confirm Check-out" button. Be certain to read the caption(s) above to verify you have checked-out. "Checked out" will display along with a Checkout time: date and time stamp and a Checkout confirmation number. (See image below) It is recommended that you record the checkout confirmation number or screen shot the page for your records.
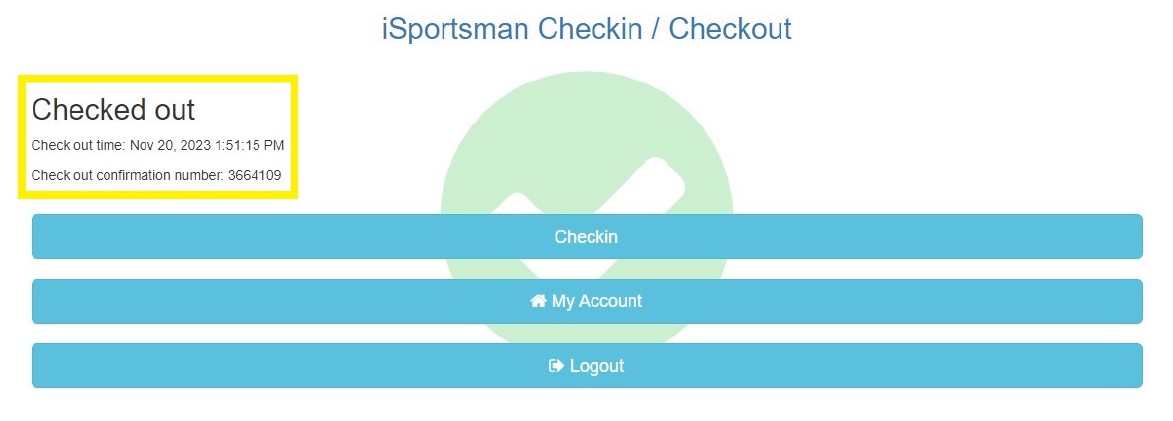
*** If the timestamp and confirmation number do not display then you are NOT checked out! ***
Checkout Troubleshooting: If you unable to see a final page shown above, try the following steps:
- Clear your history.
- If you are on a mobile device, find a location with better data service, and try to checkout again.
***Note: Failure to properly check out by the required check-out time will result in an account hold. ***